An oil lamp or candle is one of the oldest forms of light sources for mankind. According to Wikipedia, there are stone oil lamps that were used 10,000 to 15,000 years ago!
Today we'll talk about how oil lamps work, what type of oil and wick is best to use, and how to make a beautiful oil lamp from a jar in just a few minutes!
DIY oil lamp
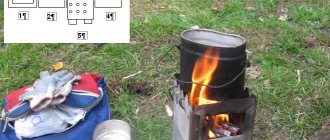
A DIY oil lamp can be very useful in camping conditions to illuminate the area inside the tent. However, you need to know how to make it correctly.
The basis of such a lamp is oil and wick. To make a miniature oil lamp, you will need the following materials:
- Match
- Copper wire
- Wool thread, preferably thick
- Oil
- Tin stopper
A thick woolen thread will act as a wick, and the thicker it is, the better. It absorbs any substance well, be it liquid or oil, lifting this substance upward. The basis for the thread should be a support, which is used as a match, on which copper wire is wound in tight rings. When the match is completely wrapped in wire, it is removed from the loop. You should end up with a copper spiral, the end of which needs to be bent slightly to ensure stability. After this, you need to wind the thread tightly onto the resulting spiral from bottom to top, threading it between the rings. The end of the thread should remain free at the top; it needs to be fluffed up a little.
Next, you need to take a tin stopper and pour in a small amount of oil, enough for the thread wick to be saturated to the top. In addition to the cork, you can use any metal container in which you need to place the manufactured wick.
Another option for making an oil lamp is to use a regular light bulb. For this you will need:
- Old or new light bulb
- Cotton fabric wick
- Syringe
- Steel or copper wire
- Oil
- Set of tools
The light bulb will serve as a container for oil with a wick. To prepare it, you need to make a hole in the base: hook the protruding contact of the lamp with pliers and pull it. After this, you need to remove the black polymer around the contact and everything else that was there from the glass bulb of the light bulb.
Next, you need to check the wick for suitability: set it on fire and look at the result. If it produces loose ash, then the wick will burn well. If the fibers begin to turn into something resembling plastic, the wick is not suitable for an oil lamp. You need to measure the required length of the wick so that it is completely immersed in the bulb from the lamp, protruding about 1 cm from it.
To fill the glass flask with oil, you can use a 10 ml syringe. When the oil in the flask runs out, you can always add it.
You need to make a wick holder from the wire. To do this, use pliers to bend the wire into a spiral with a wide base. You need to make a slight curve on top of the wire so that it holds onto the top of the bulb from the light bulb.
After making the base, the wick is soaked in oil and lowered inside the flask, secured with wire. If the cotton wick on the wire does not stick out about 1 cm from the bulb, it will create a lot of soot. The oil lamp is ready, you just need to light the wick and make sure to change the oil on time and tighten the wick as it burns. By the way, such a lamp will be an excellent interior decoration. But for this it is necessary that it be located on a stand. To do this, you can use a metal hanger or a piece of copper wire, twisting it into a wide spiral, and securing the light bulb to the top with electrical tape or double-sided tape.
Another option for making an oil lamp is to use a glass container and the bottom of an aluminum can. The concave part of the bottom is cut off from the can, in which two holes are made - for the wick and air outlet, in order to slightly reduce the buoyancy of the wick. A wick, for example, from a bandage, is threaded through one of the holes. It is moistened with oil, set on fire and lowered into a glass container with oil poured into it. You can make three or four wicks instead of one, but in this case you will have to make the float from the aluminum bottom more convex so that it does not flood with oil inside the glass jar.
The advantages of a lamp inside a glass jar: the flame is not blown out by the wind and is protected from accidental overturning, it is convenient during transportation, and does not require constant supervision. And the use of several wicks allows you to adjust the brightness of the glow and the duration of the lamp.
Every housewife dreams of her home being warm and cozy. But sometimes it’s not easy to choose accessories to create that very necessary comfort. The choice of lighting plays a special role in creating a competent interior. Today there are a lot of options for this: sconces, original chandeliers and shades. And for lovers of twilight and a romantic atmosphere, an oil lamp is perfect. Unlike all the options listed above, it serves more as an original decorative element than as a lighting device. Although it all depends on the size and wick. Some of these lamps are quite bright.
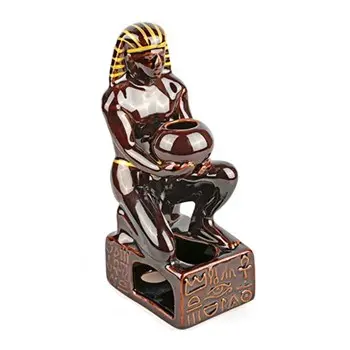
How to use an aroma lamp with oils
To avoid disappointment, you need to know how to use the aroma lamp and oils correctly. We list the basic requirements that must be adhered to.
There should be fresh air in the room. Therefore, first ventilate, and while using the aroma lamp, make sure that the windows are closed. Avoid drafts.
To prevent the smell from being pungent, you need to maintain a strict ratio of water and oil. To fill a room aroma lamp, you need to add two or three drops of essential oil to two tablespoons of warm water.
The sequence of actions is as follows: first pour the liquid into the bowl, and then the ether or a mixture of extracts. After this, you can light a candle or plug in the device.
It is necessary to monitor the presence of water in the bowl and add it when evaporation is active. Typically, a tablespoon of liquid must be added every 15 minutes.
Articles recommended for reading:
- How to learn fire magic
- Magic amulets and their meaning
- Wiccan magic - the doctrine of the worship of the forces of nature
Electric lamps do not need to be adjusted, everything is determined by the design. It can be much more difficult to understand how to use a regular aroma lamp with a candle and oil, and to calculate the optimal distance from the flame to the bowl. Experts recommend maintaining the fire at a distance of 10–12 cm, otherwise the ether will quickly burn out.

Even the flame of a small candle can cause a fire, so it is forbidden to leave the aroma lamp on a plastic tabletop. Also, avoid drafts and do not let children play with it.
At first, limit your aromatherapy session to 20 minutes. Especially if you are just choosing the right scents for yourself. Monitor how you feel and how your body reacts. As a rule, this amount of time is enough for the atmosphere of the room to be filled with aroma and you can get the beneficial effects.
To prevent odors from mixing, try to thoroughly clean the device before using new oil. You can wash the bowl with a sponge and soap, and then rinse with a vinegar solution to completely eliminate traces and odors of ether.
About the use of lamps
The first oil lamps appeared in the Paleolithic era, but they were then made from clay, stones, copper, and later other metals. Such lamps were popular among the Eskimos, and until the 19th century, slightly modified, they were used as fire clocks (similar to sun clocks).
In Russia and Canada, so-called kudliks are widely used - stone cups with a wick lowered into them and filled with fat, oil or lard. In some places they are still used, and the peoples of the north have learned to heat their homes with the help of such lamps.
Today, the oil lamp is no longer so popular, and it looks different: all kinds of candles, bottles, jars with decorations, and even original lamps in the form of ordinary lamps and spirals. And its functionality has changed - instead of lighting - decor.
Wick and oil for the correct lamp
It doesn’t matter whether you decide to buy a lamp or make it yourself, it is important to choose the right oil for an oil lamp, since the quality of the product and the brightness of the lighting depend on it.
Today you can find special lamp oil in the store. It comes in two types: Vaseline-based (clean, transparent in appearance) and olive with impurities (more cloudy), and if necessary, even ordinary sunflower is used. But in order for the oil to rise and evaporate well, it is important that the wick for the oil lamp is of high quality.
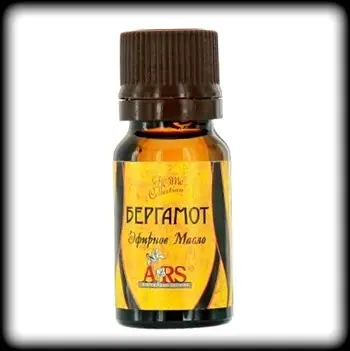
Essential oils for aroma lamp
Of course, the main thing for obtaining the effect of aromatherapy is not the choice of aroma lamp, but the careful selection of a suitable essential substance. All oils have different properties, and for a specific effect you need to use a specific type. Let us give examples of the different effects of odors on the human body.
Bergamot, rosemary, black pepper, lemon, mint - oils from these plants are good to use to improve tone. It is especially effective to use them in the morning and afternoon to feel invigorated and recharged with energy for active activities.
Eucalyptus, tea tree, thyme - these oils are traditionally used to cleanse and disinfect rooms during the cold season.
Esters of citronella, lemongrass or a composition of mint, lemon and rosemary aromas will help quickly cope with unpleasant odors in the house.
DIY oil lamps
Any handmade souvenirs have always been valued much higher than factory-made ones distributed to the masses. This also applies to oil lamps, which are quite easy to make with your own hands. Even if you haven’t done hand made before, you can do it easily, and your family and friends will be pleasantly surprised. To work you will need:
- oil container;
- wick or string;
- large needle or hook;
- support for the wick (wire, cap or plug).
Any container will do: it can be a beautiful small vase, a glass bottle or even an ordinary jar. As a decoration, you can use glue to apply glitter, drawings, etc. to the outside. In general, whatever comes to mind. While the container is drying, proceed to creating the wick.
To do this, take a woolen cord or a special wick, which you can buy in stores. If you are making a lamp in the shape of a bottle, it is better to use a cork or a metal lid, but for a vase, cork material is suitable, because it does not sink and almost does not burn. Using a needle or crochet hook, thread it through the chosen base so that the lace sticks out 1.5-2 cm upward, and the long end is no less than the distance to the bottom of your future lamp.
All that remains is to fill the container with oil, secure the wick and let it soak for a while. Your gift is ready!
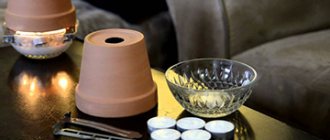
Materials:
- large floating wicks
- 1 tablespoon vegetable oil
- jar or glass bottle
- water
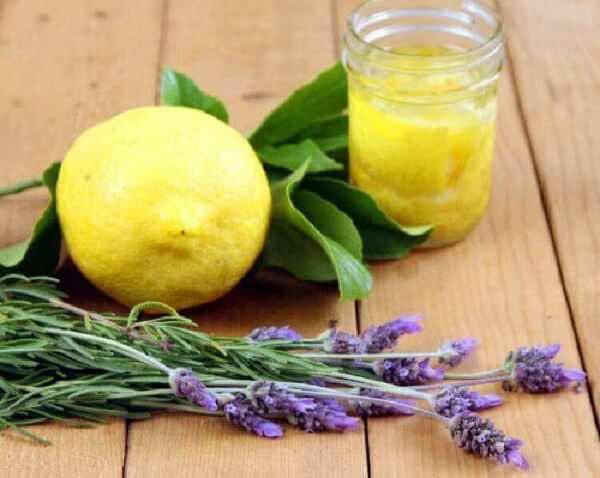
- decorative elements (flowers, pine cones, pebbles, etc.)
- herbs, spices or essential oils
Step-by-step instruction:
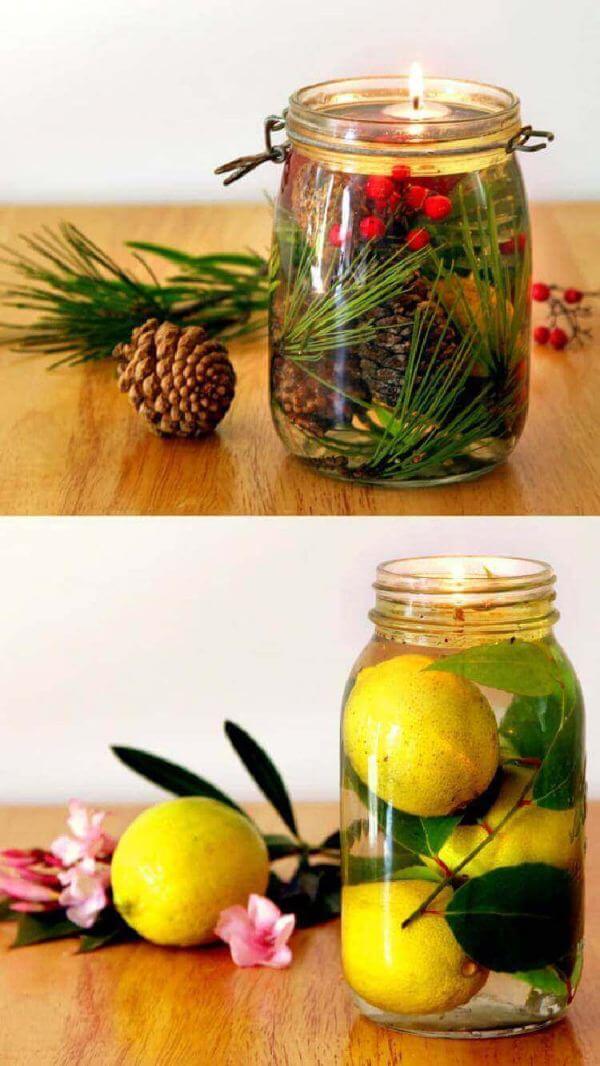
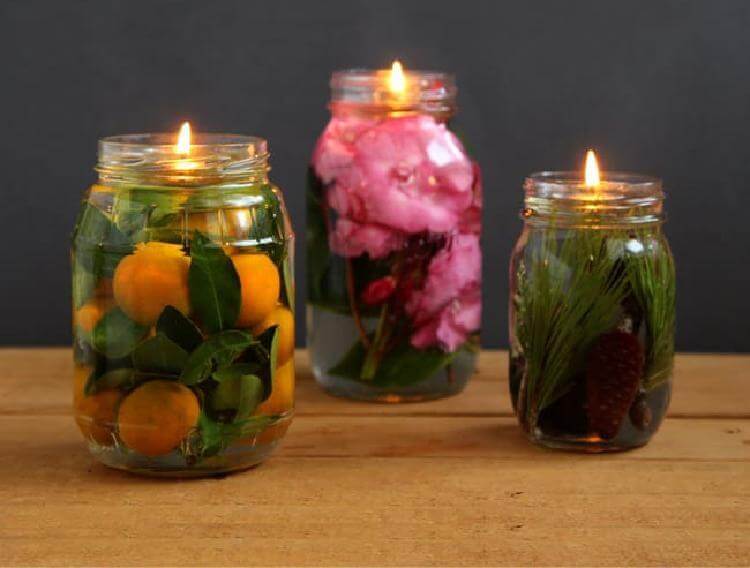
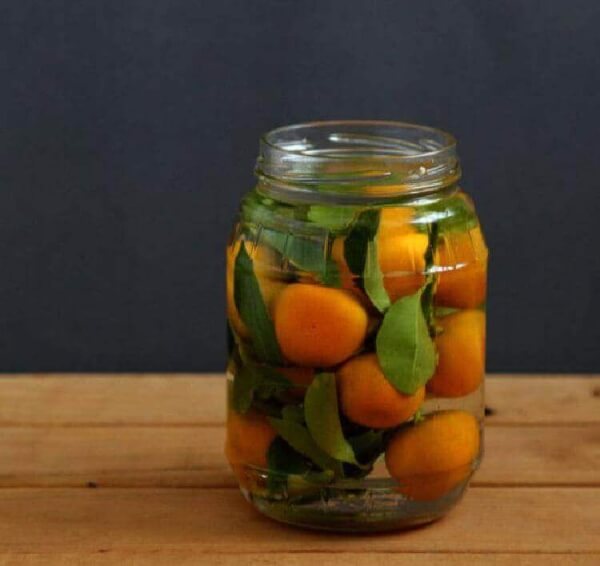
Step 1: Collect glass bottles and jars and fill them with flowers or other decorative items. Fill with water.
Step 2: Pour some vegetable oil on top until the oil forms a layer about half a centimeter thick.
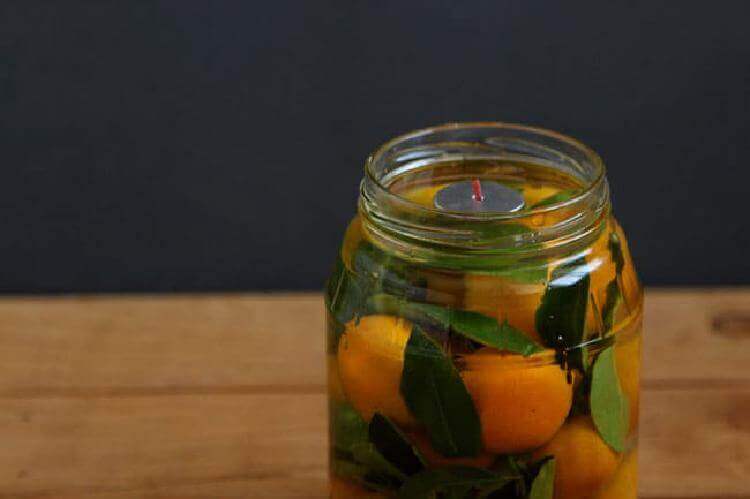
Large floating wicks come with discs and small waxed wicks. Insert a piece of wick through the center hole in the disk and place it on top of the oil layer.
Now light your oil candle and enjoy the beautiful light!
Flowers and fruits will last a whole week in water.
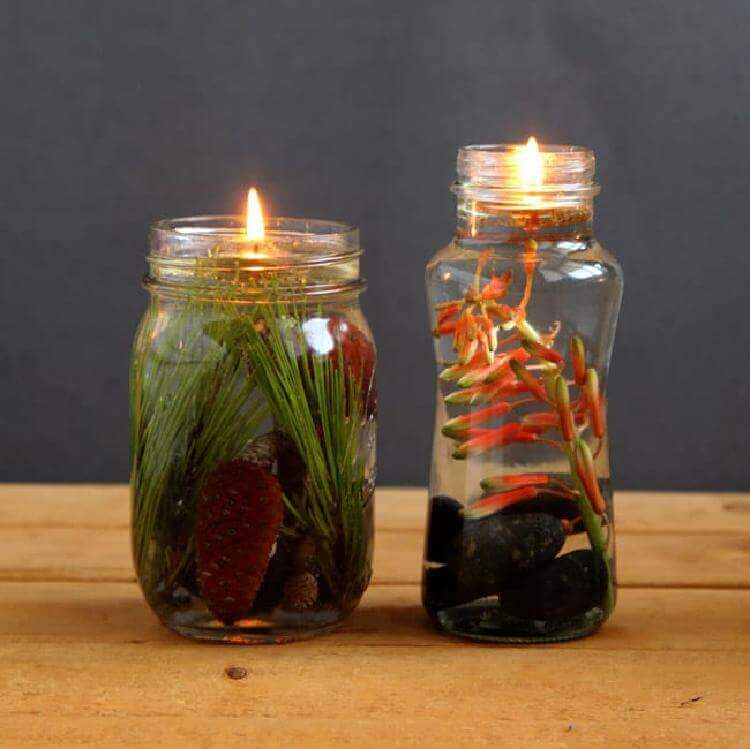
Pine cones, pebbles, and beads are also great additions! Red viburnum berries, cranberries and coniferous paws are great for decoration.
To extinguish the flame, simply cover the candle with a jar lid. Floating wicks can be left inside.