A self-made sundial is a device with which you can tell the time and decorate your summer cottage. The manufacture of this device takes quite a lot of time and also requires certain knowledge and work skills. Despite this, anyone can cope with the task. To do this, you will need to study the nuances of the process and strictly follow the instructions of professionals.
Types of products and their design
Before you start making a sundial, you need to study in detail the design features of this product, as well as choose one of the varieties. All this will help you better prepare for work and gain the necessary knowledge.
Any type of sundial has approximately the same components . Among them:
- A gnomon is a rod attached to a flat surface. It functions as an arrow, and the shadow it casts helps to accurately determine the time.
- A frame is a flat surface on which special markings are applied. This design detail is used as a dial.
The first sundials began to be made before our era. Over several thousand years, the design of the device has remained virtually unchanged and has not become more complex. Thanks to this, every summer resident can easily make such a product on his own site.
In the entire history of the development of sundials, only 3 varieties of them were invented:
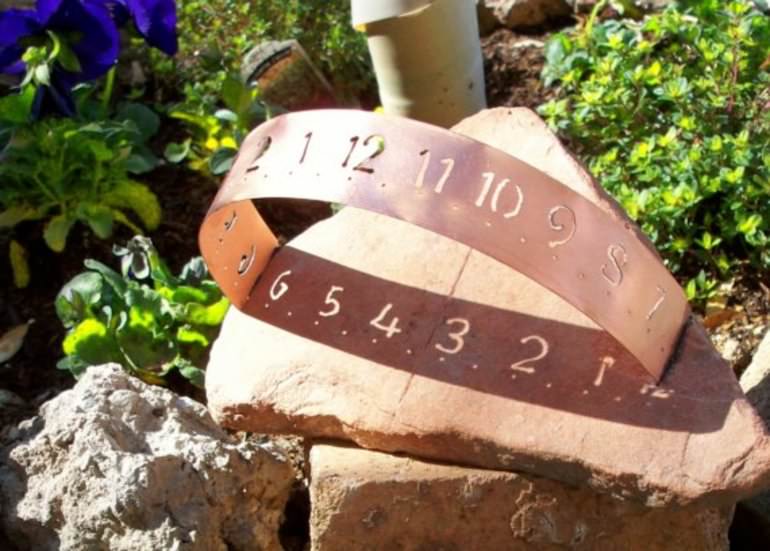
- Horizontal . The main feature of this watch is the ability to show time not only in summer, but also in autumn or winter. No other type of device has this function, which makes horizontal clocks the most versatile and popular. A gnomon of this design is positioned relative to the horizontal at an angle that is equal to the geographic latitude of a particular region. In most cases, devices of this type are installed on a flower bed, lawn or artificial pond. When making horizontal clocks, you can use any available materials, which significantly reduces financial costs.
- Vertical . A distinctive feature of this design is that all its parts are installed on the walls of buildings, fences and poles. The frame of such a device must be directed to the south. In this case, the angle between it and the noon line cannot exceed 90 degrees. It is better to place a self-made gnomon not in the center of the dial, but slightly above it. In addition, the second main part of the structure must also be directed to the south.
- Equatorial . This type of sundial is popular in the northern regions. This is due to the fact that they can only show the time correctly from March 22 to September 22. It is during this period that all dacha work is carried out. In the southern regions, accurate data will only be available in late autumn and winter. When making such watches yourself, you should remember that the frame must be located parallel to the celestial equator.
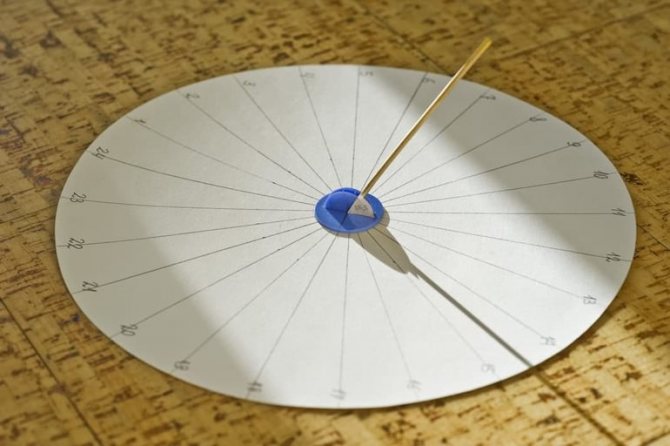
Equatorial sundial: DIY production
This is a very simple sundial to make - this is due to the fact that the divisions of its dial are the same and amount to 15 degrees, which corresponds to one hour. In principle, this is where everything simple in this watch ends and the difficulties begin - a watch of this type must be installed correctly, which in itself is difficult. Such a clock must be installed simultaneously in two planes.
As for the actual production of equatorial sundials, everything is very simple. It is better to use a hard material like plastic for them. First you make a dial with a gnomon, then you think about how you can install it at an angle, but also orient it to the north, after which the clock will work. By the way, the angle of inclination of the gnomon can be easily adjusted with a protractor and rulers - the drawing tool has a special lock that allows you to set the desired angle between a pair of rulers. By the way, for our hemisphere, the clock should be pointed towards the true north pole, but if you make a clock while in the southern hemisphere, then the gnomon and dial should point towards the true south pole. In this case, the dial will be a little different - it will be a mirror image of a sundial for the northern hemisphere of the Earth.
You can see what a sundial can be like in this video.
Preparatory activities
Before starting work, it is necessary to carry out several preparatory activities. They will help you carefully consider the design of the product and reduce the likelihood of making any errors.
Selection of materials
The most difficult part of the preparation is choosing the material from which the homemade watch will be made. When performing this work, you need to take into account various factors that will influence the attractiveness of the product and its characteristics (strength, resistance to precipitation, frost resistance, and others).
It is recommended to choose the following materials for the frame:
- stone;
- metal;
- plastic;
- cement;
- processed wood;
- gravel.
It is important that this design detail is light. Otherwise, it will be difficult to see the shadow cast on it.
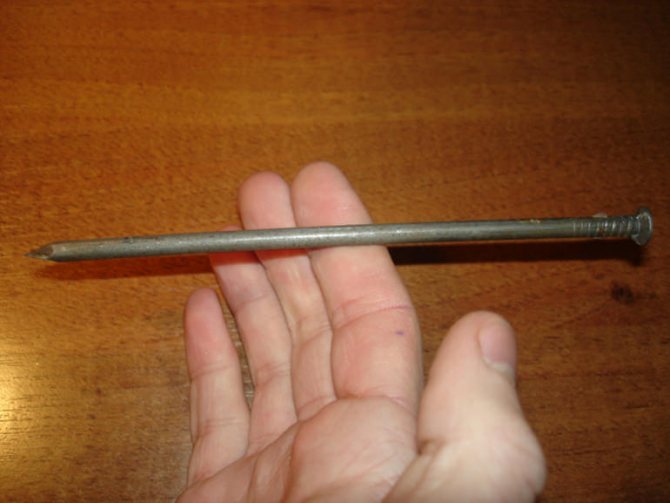
As another main element of the clock (gnomon), you can use:
- plastic pins;
- knitting needles;
- long nails;
- metal rods.
Location determination
The most interesting preparatory stage is choosing the location where the homemade device will be located. In this work, you need to take into account standard recommendations that are suitable for each type of sundial.
Basic Rules:
- You need to place the homemade device in open areas where the sun's rays will always fall.
- There should be enough free space to accommodate a dial with a diameter of at least 4 m.
- There should be no tall trees, bushes or grasses around the product that will cast their shadow on the dial.
- When choosing a place for the clock, you should make sure that there are no overhanging wires. Otherwise, they will cast a shadow and make it difficult to determine the time.
- The vertical clock should be placed on the south wall of the building.
Manufacturing process
Anyone can make a horizontal, vertical or equatorial clock on their own. To do this, you need to prepare the required materials in advance and study all the intricacies of the work.
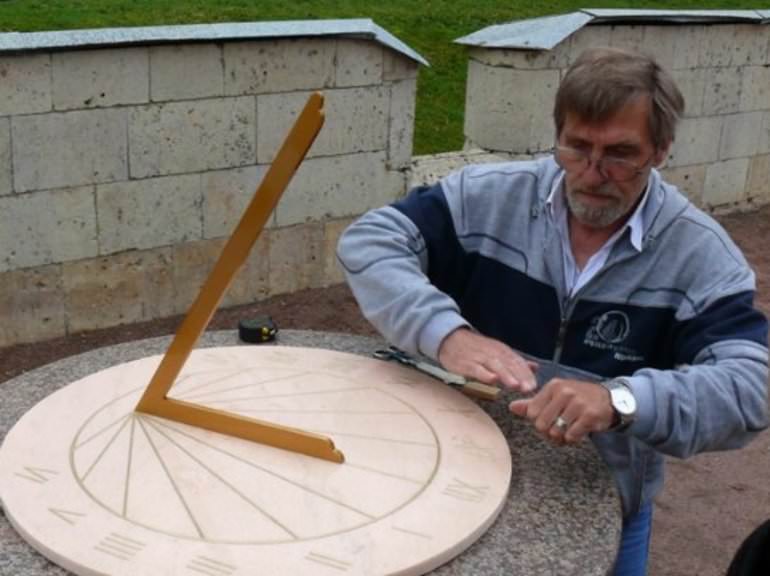
Horizontal design
This is the simplest watch that can be made in a minimum amount of time. During the summer season (from March to September) they will accurately show the time. However, they need to be adjusted already in October.
The manufacturing process consists of the following stages:
- The first step is to take a sheet of plywood or plastic and apply the outline of a triangular gnomon onto it. In this case, one of the angles must be straight, and the other must correspond to the latitude of the region.
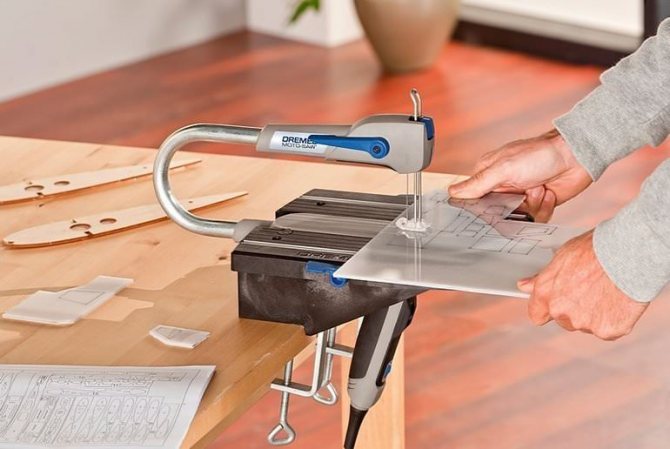
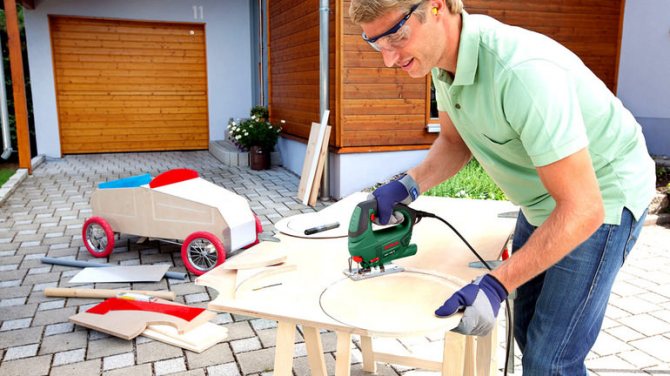
- The main part of the structure is cut out using a manual or electric jigsaw.
- Using a compass or a special mobile application, the manufactured gnomon is installed. It is positioned so that the acute angle is directed north.
- At the next stage, the production of the frame begins. It is better to cut this part out of metal or wood.
- The base of the structure is coated with moisture-repellent compounds that will protect the material from the negative effects of rain and snow.
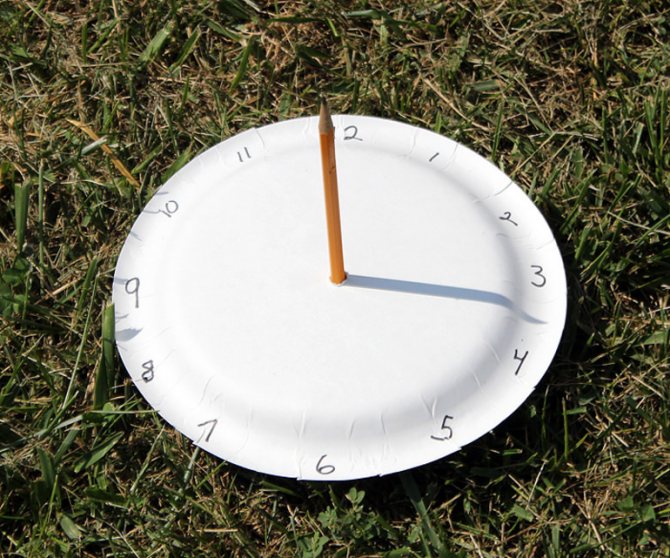
- Marking begins with the line corresponding to 6 and 18 o'clock. It is placed horizontally and perpendicular to the gnomon.
- Then they take an alarm clock and every hour make notes on the dial in those places where the shadow of the gnomon is located.
- At the very end, the finished product is decorated, trying to harmoniously fit it into the environment.
Vertical fixture
Making this device with your own hands takes quite a lot of time. In this case, the master will need to take into account many nuances that will help to correctly position and mark the clock.
Step-by-step instruction:
- Work begins with cutting out the frame. For vertical clocks, it is better to use lighter materials, which, when mounted on the wall, will not require the creation of additional structures.
- Using various measuring instruments, the location of the center of the dial is determined.
- They move a few centimeters up from it and mark the location of the gnomon.
- From this point, a plumb line (some kind of weight on a long rope or fishing line) is lowered, along which a line is drawn corresponding to noon.
- A hole for attaching the gnomon is drilled in a predetermined place.
- The part of this part that will be located in the wall is flattened with a hammer. This will avoid accidental turning.
- After this, attach the gnomon, trying to rotate it so that it is perpendicular to the wall.
- Using a chronometer, the location of the shadow is noted every hour.
- The finished vertical clock is decorated and coated with a transparent protective composition.
Equatorial clock
This device is distinguished by good accuracy and ease of manufacture. Even a teenager can make it with his own hands. To do this you will need to perform the following steps:
- A square base is cut out of plastic or plywood.
- Using a protractor, divisions are applied to it every 15 degrees.
- A metal rod is attached to the middle of the dial. Its size is selected depending on the size of the watch.
- After this, the frame is installed on a special stand, which allows you to select the correct tilt.
- Then the position of the dial is adjusted, ensuring that the gnomon is directed to the north.
- Every hour they monitor the movement of the shadow and make the necessary marks on the dial.
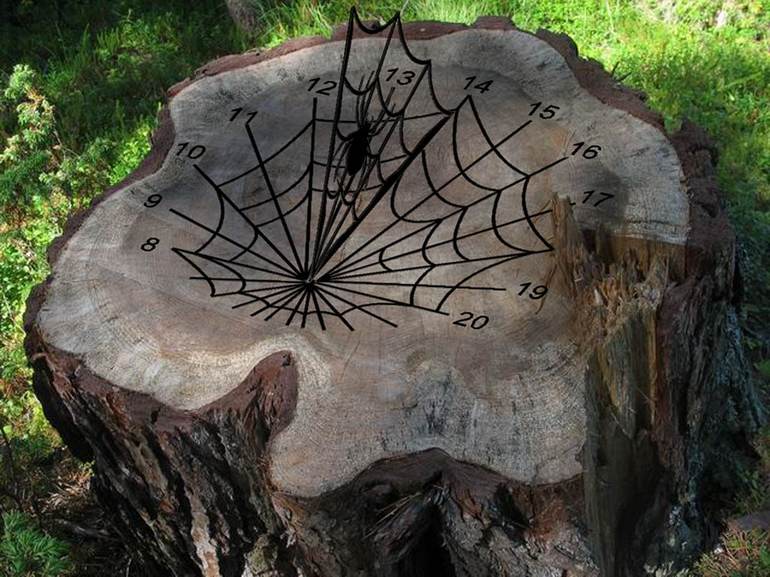
DIY horizontal sundial
A distinctive feature of this type of watch is the horizontal arrangement of the dial - the gnomon is oriented exclusively towards the true pole of the Earth. On the one hand, this is good (the manufacturing technology is simpler), but on the other hand, it’s not very good, since setting the clock looks very problematic. In such watches, the shadow from the gnomon does not move the same distance over the course of an hour, so you need to be patient and use a watch. The divisions will have to be applied in accordance with a mechanical or electronic chronometer. Such watches are made as follows.
During even hours, we simply place marks where the shadow of the gnomon points. Once the dial markings are completed, the watch can be used fully. In principle, they can be used immediately after installation, only without divisions you can determine the time exclusively intuitively.
Useful tips
In order for the finished product to be as accurate and beautiful as possible, it is necessary to take into account the advice of experienced summer residents. They will point out to newbies some important points that may be overlooked.
Professional recommendations:
- Initially, any structure is marked on the basis that noon occurs at 12 o’clock. However, in each region, the absence of shadow can be observed at different times. Because of this, you will need to make adjustments to the markup.
- Before you start making a device from stone or metal, you need to practice on a cheaper material (for example, plywood).
- If you want the watch to show the exact time throughout the year, you need to make 2 dials. The first will be useful from November to February, and the second from March to October.
- It is best to make a round or square dial. This will greatly simplify your work and help you determine the time more accurately.
- The device only works from dawn to dusk. Because of this, markings corresponding to the night time may not be applied to the dial.
Even a teenager can make a sundial on his own. But for this you will need to carefully prepare for work and follow the instructions of the instructions or knowledgeable people. If you manage to perform all the steps correctly, an original and useful decoration will appear on the site.